

A practical field guide
Tree Planting: Give Your Tree a Strong Start
By Jeremy Slot · ISA Certified Arborist MI-4072A · The Tree Stylist
A tree’s future begins with what happens at planting time. Choose a suitable location, find the root flare, prepare the roots, and follow through with watering. This guide takes you through the decisions that matter before the shovel goes into the ground—and afterward.
Use the video alongside the instructions below. Different nursery stock requires different preparation; the sections on container-grown, balled-and-burlapped, and bare-root trees explain those differences.
Full video · 4:04
Watch Jeremy’s planting demonstration
How To Plant a Tree Properly @TheTreeStylist
The player connects to YouTube only when you load it. Press play in the player to begin; it does not autoplay. Use the captions control where available.
Watch the full video on YouTubeBefore you dig
Choose for the tree’s mature size
Match the species to your sunlight, soil, drainage, and available growing space. Consider overhead wires, buildings, driveways, and underground services. A small nursery tree can become a large landscape commitment. [1]
Locate utilities
In Michigan, contact MISS DIG 811 at least three business days before excavation. Check Positive Response and follow current marking and safe-digging instructions before starting. Ask about private lines such as irrigation or power to an outbuilding; do not assume all underground services will be marked. [2]
Choose a workable planting day
Spring and early fall are often good opportunities. Species and nursery stock affect timing; some trees establish better when planted in spring. Summer planting requires closer moisture management. Avoid working frozen or saturated soil. [3,4]
Gather: a shovel, tape measure, straight board or shovel handle, clean pruners, water, organic mulch, and suitable help or equipment for a heavy root ball.
Find the root flare first
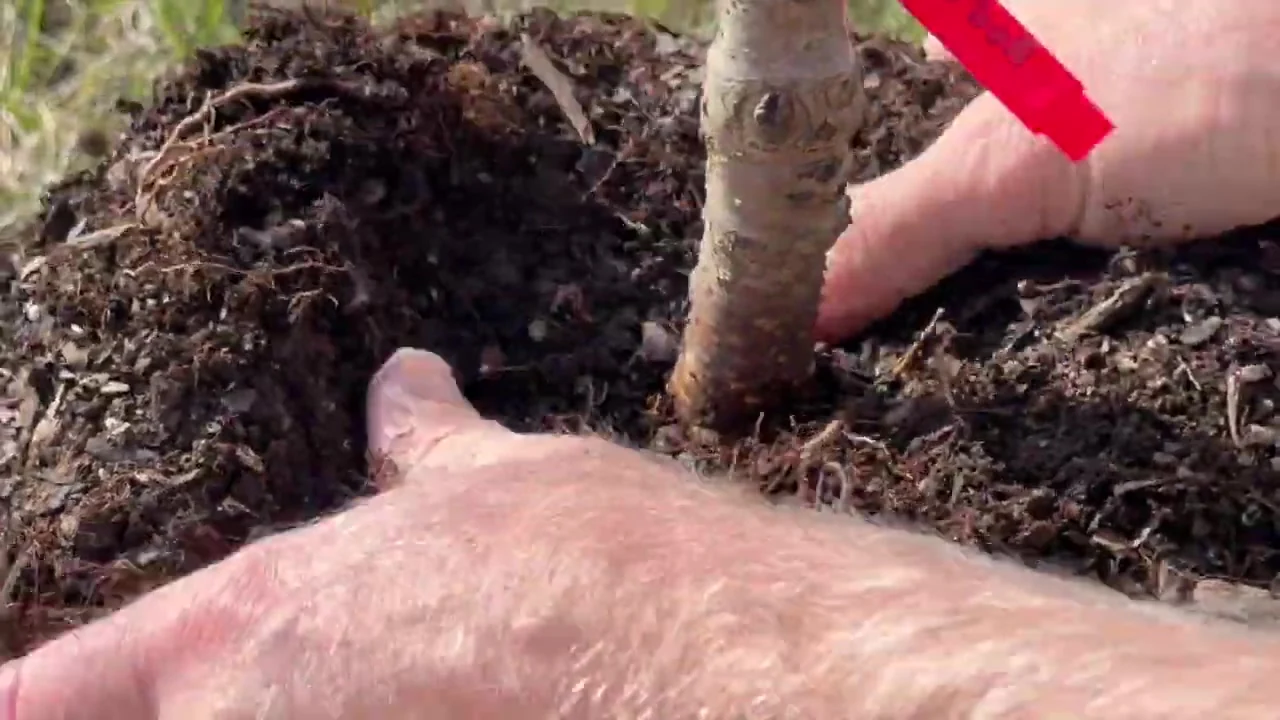
The root flare is where the lower trunk widens into the main roots. Gently remove excess soil from the top of the nursery root ball until you locate those roots. The soil level in the pot or burlap is not a dependable planting-depth guide. [5]
A young tree may have a subtle flare. Look for the main roots leaving the trunk, not just fine roots near the surface. On a grafted tree, the graft union is a different feature farther up the trunk; do not use it to measure planting depth.
Measure before digging
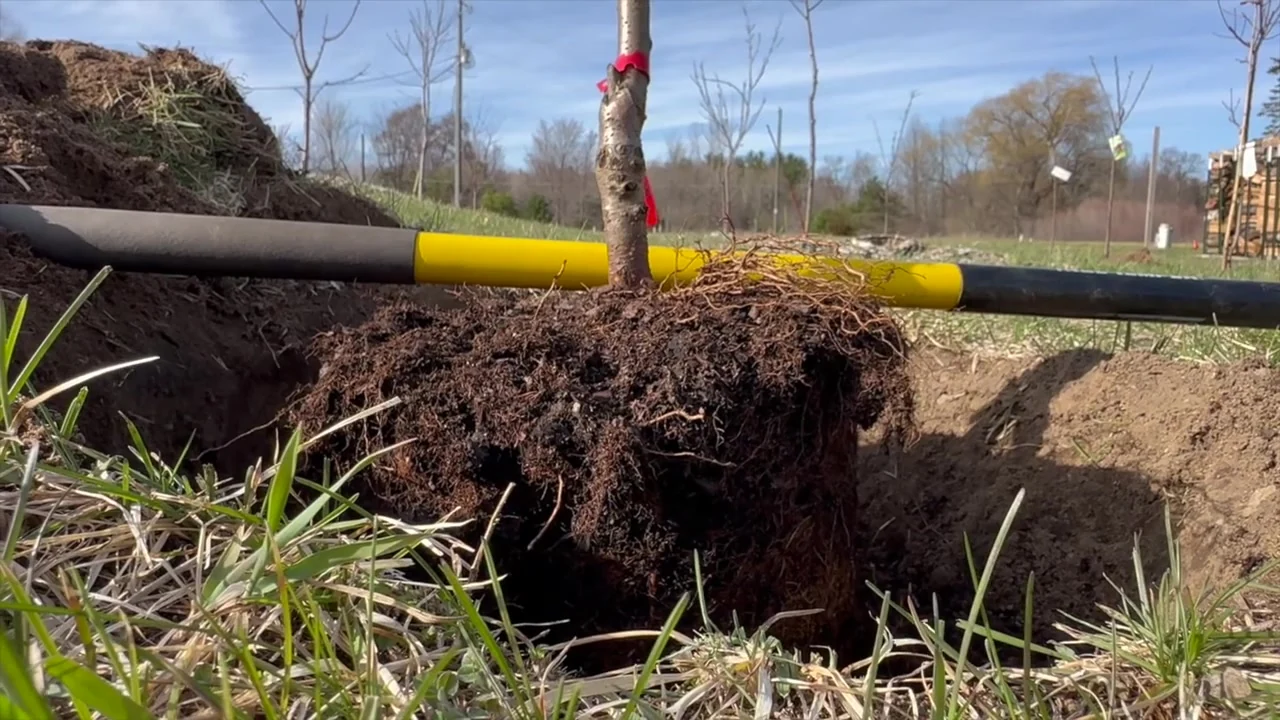
Measure from the root flare to the bottom of the prepared root ball. Dig a broad hole approximately two to three times the ball’s width, with sloping sides. Keep firm, undisturbed soil beneath the ball so it does not settle. [3]
Set the flare at or slightly above the surrounding finished soil level, with the upper main roots just beneath the surface. Lay a straight board across the hole to check height. Recheck after positioning the tree. Do not bury the trunk to make an oversized hole look filled. [3]
Prepare the tree you actually have
Container-grown trees
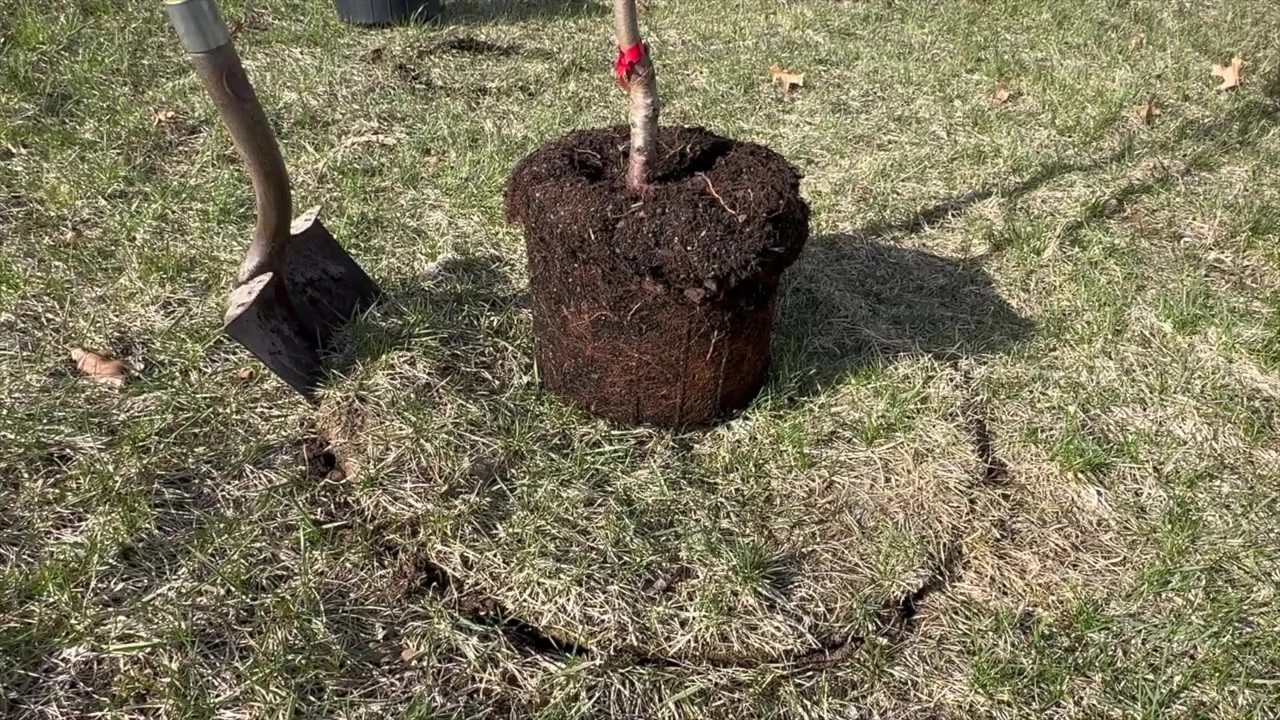
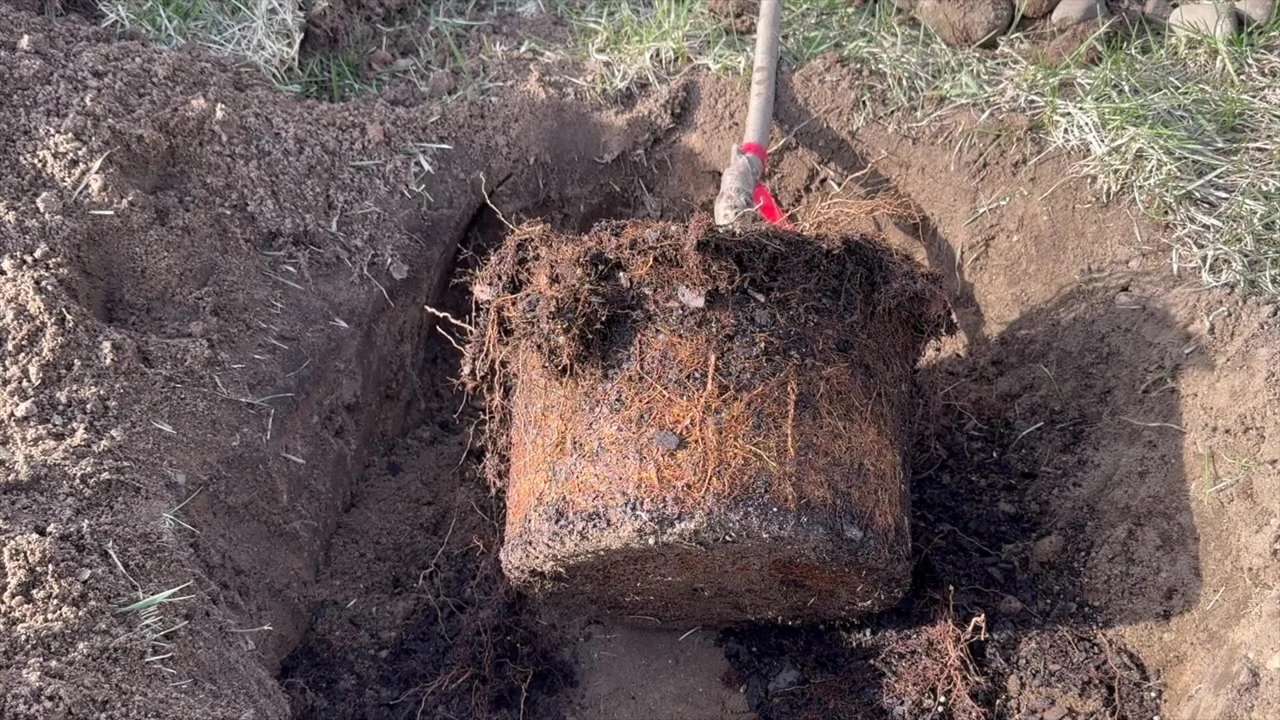
Remove the entire pot. Support the root mass rather than pulling on the trunk. Inspect for roots that circle the ball or turn back toward the trunk. Straighten flexible roots where practical and prune defective circling roots with clean tools; a dense outer root mat may need more deliberate correction than a few scratches. If major roots are severely deformed, seek advice or select better stock. Keep roots moist while working. [6]
Balled-and-burlapped trees
Lift by the root ball and protect it from breaking apart. Locate the flare before setting depth. Once the tree is supported in the hole, remove all trunk ties and twine. Remove synthetic wrapping entirely. Cut away accessible burlap and wire, especially around the upper ball, without destabilizing it. Large, fragile balls may need professional handling. [4]
Bare-root trees
Keep roots protected from drying. Spread them naturally over a firm soil mound that supports the tree at the correct height. Make the hole wide enough to avoid folding or circling roots. Gently work backfill between the roots and water to settle it. [7]
Important: These are different planting methods. A video of one stock type should not be presented as demonstrating all three.
Straighten and backfill
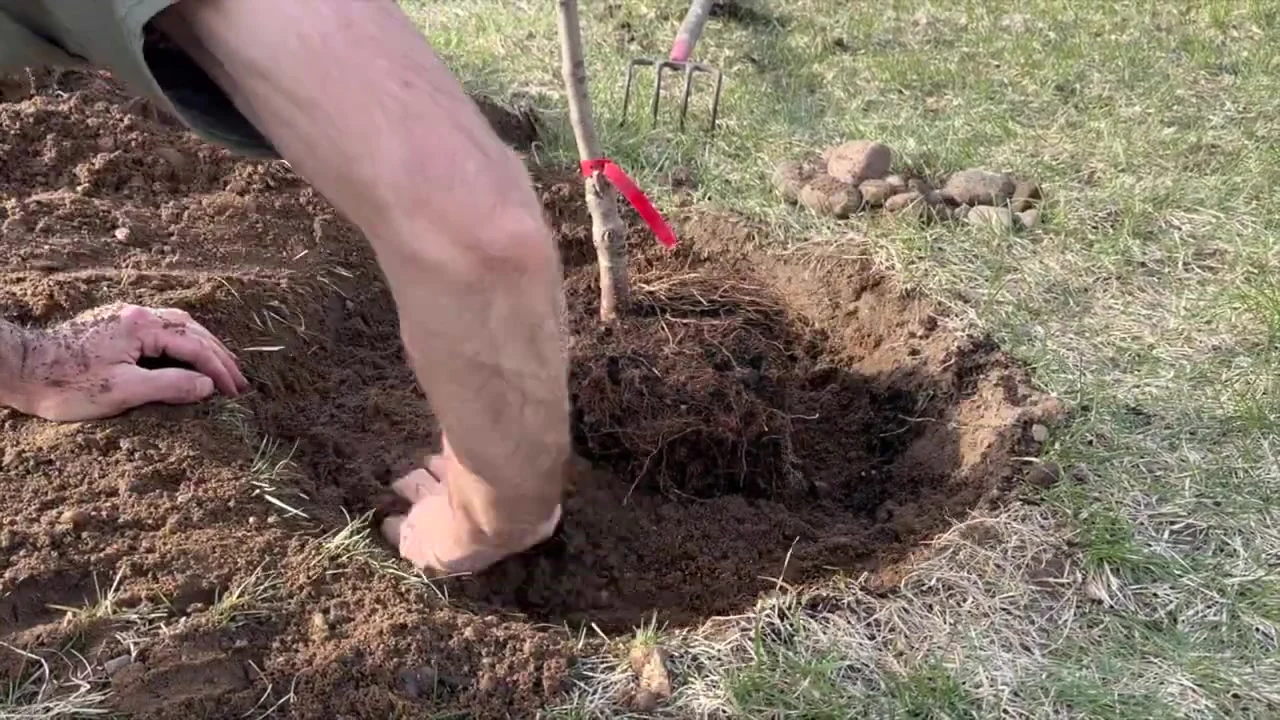
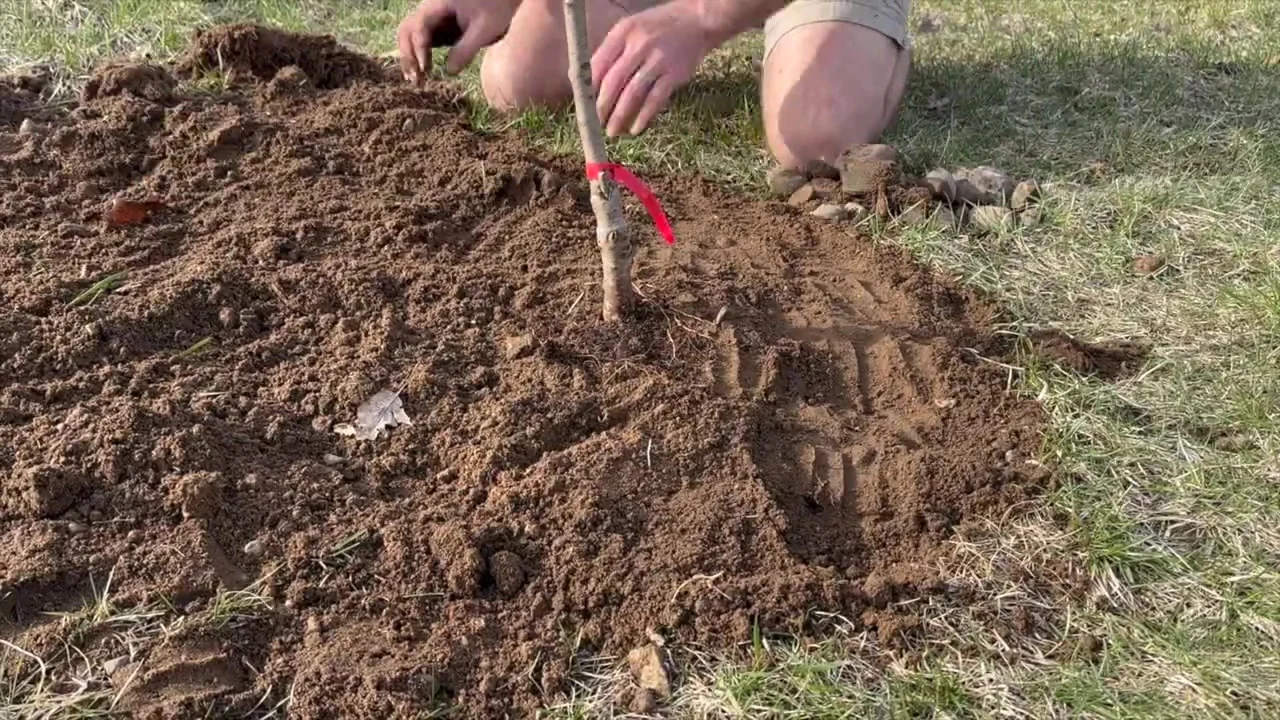
Check the trunk from two directions before filling the hole. Use the soil removed from the hole, breaking up large clods. Gently settle it around the roots without heavily compacting it. Avoid making a small pocket of rich potting mix or compost surrounded by different soil. A difficult site may need improvement across a broader area before planting. [4,6]
Water slowly to settle the backfill. Recheck height and position. Soil should cover roots without covering the flare.
Mulch wide, keep the trunk clear
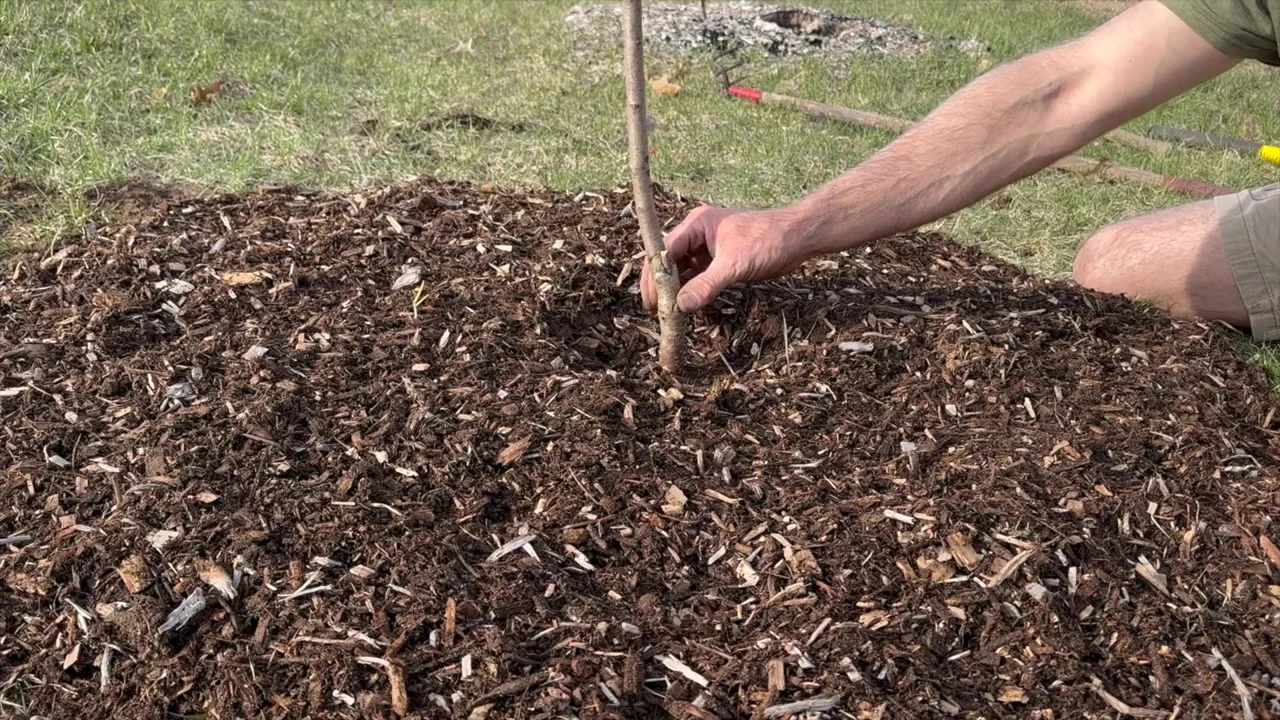
Apply about 2–3 inches of organic mulch over the surrounding soil. Spread it broadly and keep the trunk and root flare exposed. Leave several inches of space between mulch and bark. Check the existing depth before adding more later. [1,5]
A note alongside the video: Jeremy describes a 2–4-inch mulch range in the video and aims for about 3 inches. This written guide uses the 2–3-inch guidance above. Check the existing depth before adding more, and keep the root flare clear.
Mulch helps moderate moisture and temperature and reduces competition from grass. A mound against the trunk defeats the purpose. [1]
Water by checking the soil
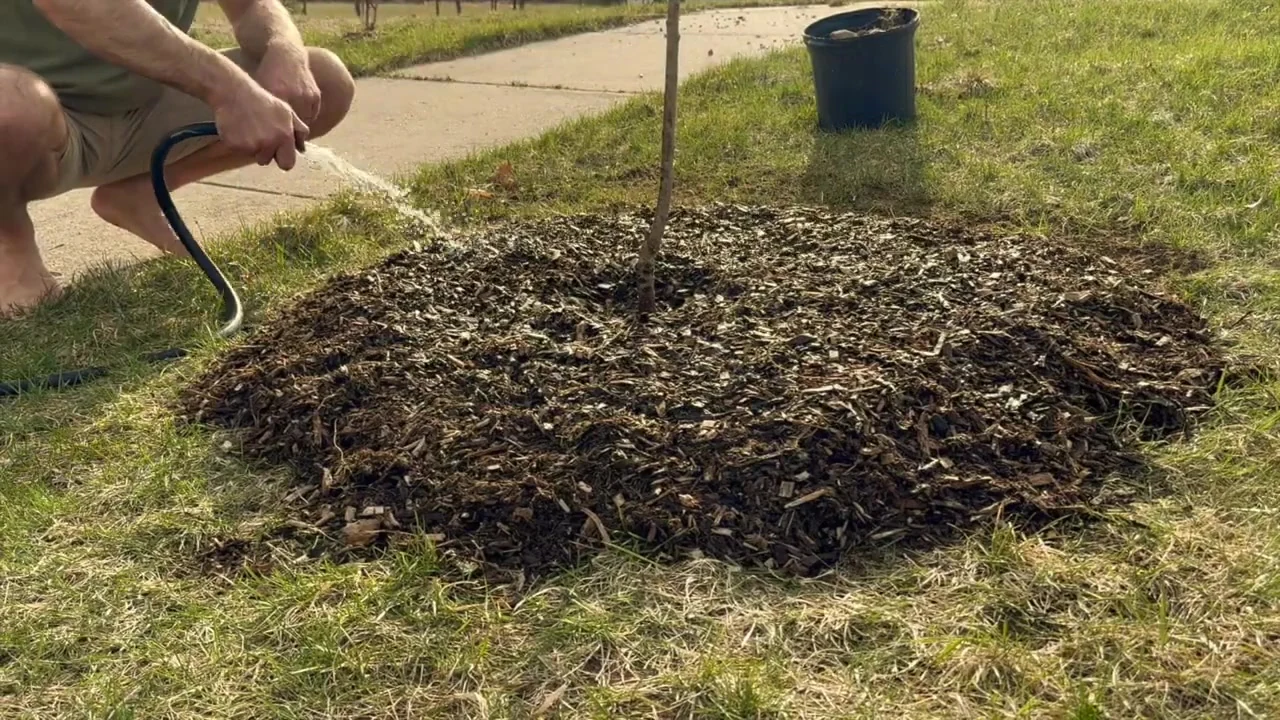
Water at planting, then monitor the original root ball and nearby backfill. They can dry at different rates. Move mulch aside and check moisture a few inches down; do not judge by the lawn or the surface alone. [4]
For newly planted trees, University of Minnesota Extension offers 1–1½ gallons per inch of trunk caliper per watering as a starting quantity. For a 2-inch-caliper tree, that is 2–3 gallons. Caliper on small nursery trees is measured about 6 inches above the flare. This is a starting guide, not a fixed prescription for every root ball. [8]
Check daily during the first couple of weeks, then regularly through establishment. Water slowly when the root ball needs it; if it remains wet or saturated, wait and investigate drainage. Expand the watered area as roots grow. Hot, windy conditions and sandy soil can increase demand. Establishment can take several growing seasons. [4,8]
Simple check: Root ball drying? Water slowly. Still adequately moist? Check again later. Persistently soggy? Address drainage rather than adding more water.
Support only when needed
A stable tree may not need stakes. If the root ball moves or the tree cannot remain upright, use flexible supports that allow trunk movement without rubbing the bark. Inspect ties regularly and remove support when the tree is stable, generally within the first growing season. [1]
Follow through after planting
Planting questions
Common questions
Should I add fertilizer right away?
Routine fertilizer is not a substitute for correct planting or watering. Base any need for amendments on the tree, soil conditions, and appropriate testing. [4]
Can I plant a little deeper to keep the tree upright?
Does a wet lawn mean my new tree has enough water?
Check the root ball itself. Surrounding soil and the nursery root ball may hold water differently. [4]
My tree is already planted too deeply. Should I dig around it?
Arrange an assessment before cutting roots or making major changes. A newly installed tree and an established tree may need very different solutions.
Before you put the shovel away
- Root flare located and visible.
- Tree upright at the correct height.
- Pot removed; ties and wrapping addressed for the stock type.
- Root defects inspected and corrected where appropriate.
- Soil settled and tree watered.
- Mulch broad and shallow, clear of the trunk.
- Watering and support checks planned.
Need help getting it right?
Planning a tree, unsure about the roots, or concerned about a recent planting? Contact Jeremy Slot for guidance on the tree and its growing conditions.
Ask about your tree · Explore Root & Soil Care
Serving Montcalm, Mecosta, Newaygo, Isabella, and surrounding communities.
Sources
Guidance checked October 26, 2026. Sources inform the written guide; they do not establish what appears in the video.
- International Society of Arboriculture — Planting a Tree: https://www.treesaregood.org/Tree-Owner-Resources/Planting-a-Tree
- MISS DIG 811 — Homeowner Information: https://www.missdig811.org/homeowner.html and safe-digging instructions: https://www.missdig811.org/
- The Morton Arboretum — How to Plant Trees and Shrubs: https://mortonarb.org/plant-and-protect/tree-plant-care/plant-care-resources/how-to-plant-trees/
- University of Maryland Extension — Planting a Tree or Shrub: https://www.extension.umd.edu/resource/planting-tree-or-shrub
- University of Maryland Extension — Free the Flare: https://marylandgrows.umd.edu/2024/01/12/free-the-flare-maintain-visible-root-flare-for-tree-health/
- Iowa State University Extension — Tips for Proper Planting of Containerized Trees: https://naturalresources.extension.iastate.edu/encyclopedia/tips-proper-planting-containerized-trees
- University of Minnesota Extension — Planting and Transplanting Trees and Shrubs: https://extension.umn.edu/garden-and-home/yard-and-garden/gardening-in-minnesota/planting-and-transplanting-trees-and-shrubs
- University of Minnesota Extension — Watering Newly Planted Trees and Shrubs: https://extension.umn.edu/garden-and-home/yard-and-garden/gardening-in-minnesota/watering-newly-planted-trees-and-shrubs
All nine photographs: From Jeremy Slot's tree-planting video · The Tree Stylist. The supplied stills preserve the demonstrated roots, soil and mulch. Frame times identify photographs, not chapter starts.